My Big Fat Happy Life

celebrating our everyday life

  • Home
  • Kids Activity
    • Arts and Crafts
    • Early Learning
    • Imaginative Play
    • Sensory
    • Small World
  • Travel
    • Disney Cruise
    • Disneyland Resort
    • Disney World
    • US Travel
      • Alabama
      • Alaska
      • Arizona
      • Colorado
      • Florida
      • Hawaii
      • Louisiana
        • New Orleans with Kids
      • Minnesota
      • Mississippi
      • Montana
      • New Mexico
      • Oklahoma
      • Pennsylvania
      • Texas
      • Utah
      • Wisconsin
      • Wyoming
    • Caribbean
    • Europe
      • Denmark
      • England
      • France
      • Iceland
      • Ireland
      • Portugal
      • Russia
      • Spain
      • Sweden
    • Norwegian Cruise Line
    • Universal Orlando
    • Camping
  • DIY
    • Decor
    • Holidays
    • Paper Crafts
      • Project Life
      • Layouts
      • Cards
    • Parties
    • Saving Money
  • Recipes
  • About Me
  • Disclosure & Privacy Policy
  • Media/Advertising

DIY Christmas Sign

December 2, 2019 By: mybigfathappylife

Making a DIY wood sign is easier to than you might think! Here’s a great tutorial for how you can make your own wood Christmas sign for your home.

Disclosure: My Big Fat Happy Life is a participant in the Amazon Services LLC Associates Program, an affiliate advertising program designed to provide a means for sites to earn advertising fees by advertising and linking to amazon.comMaking a DIY wood sign is easier to than you might think! Here’s a great tutorial for how you can make your own wood Christmas sign for your home.

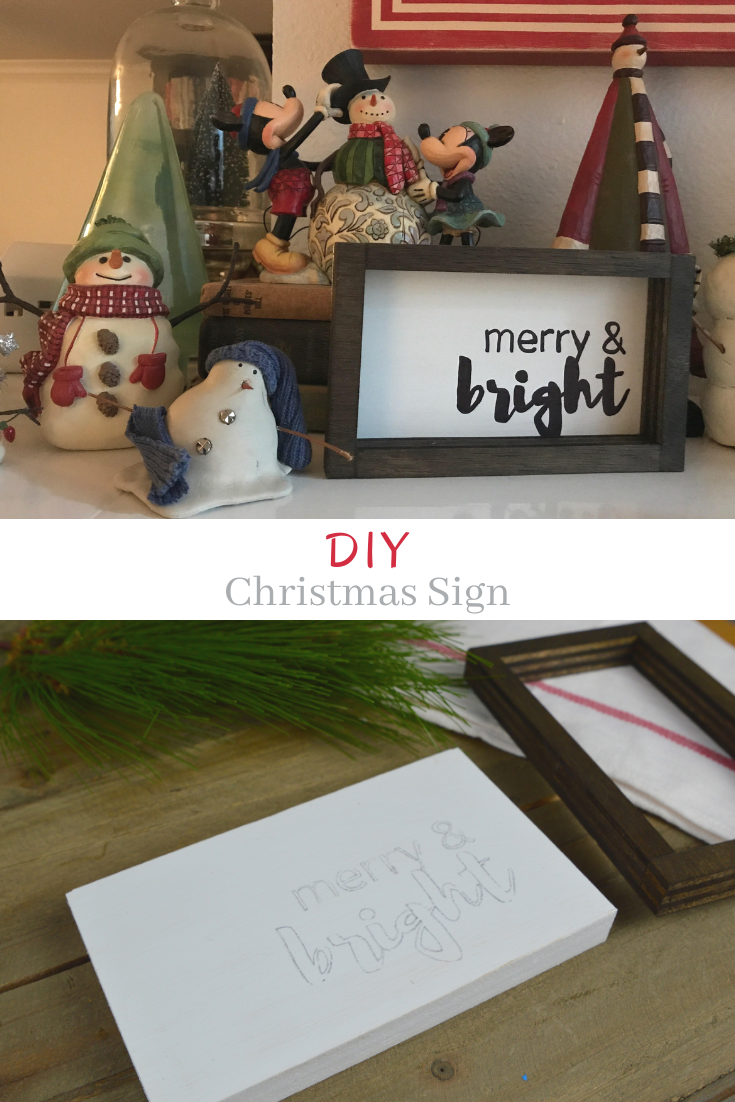
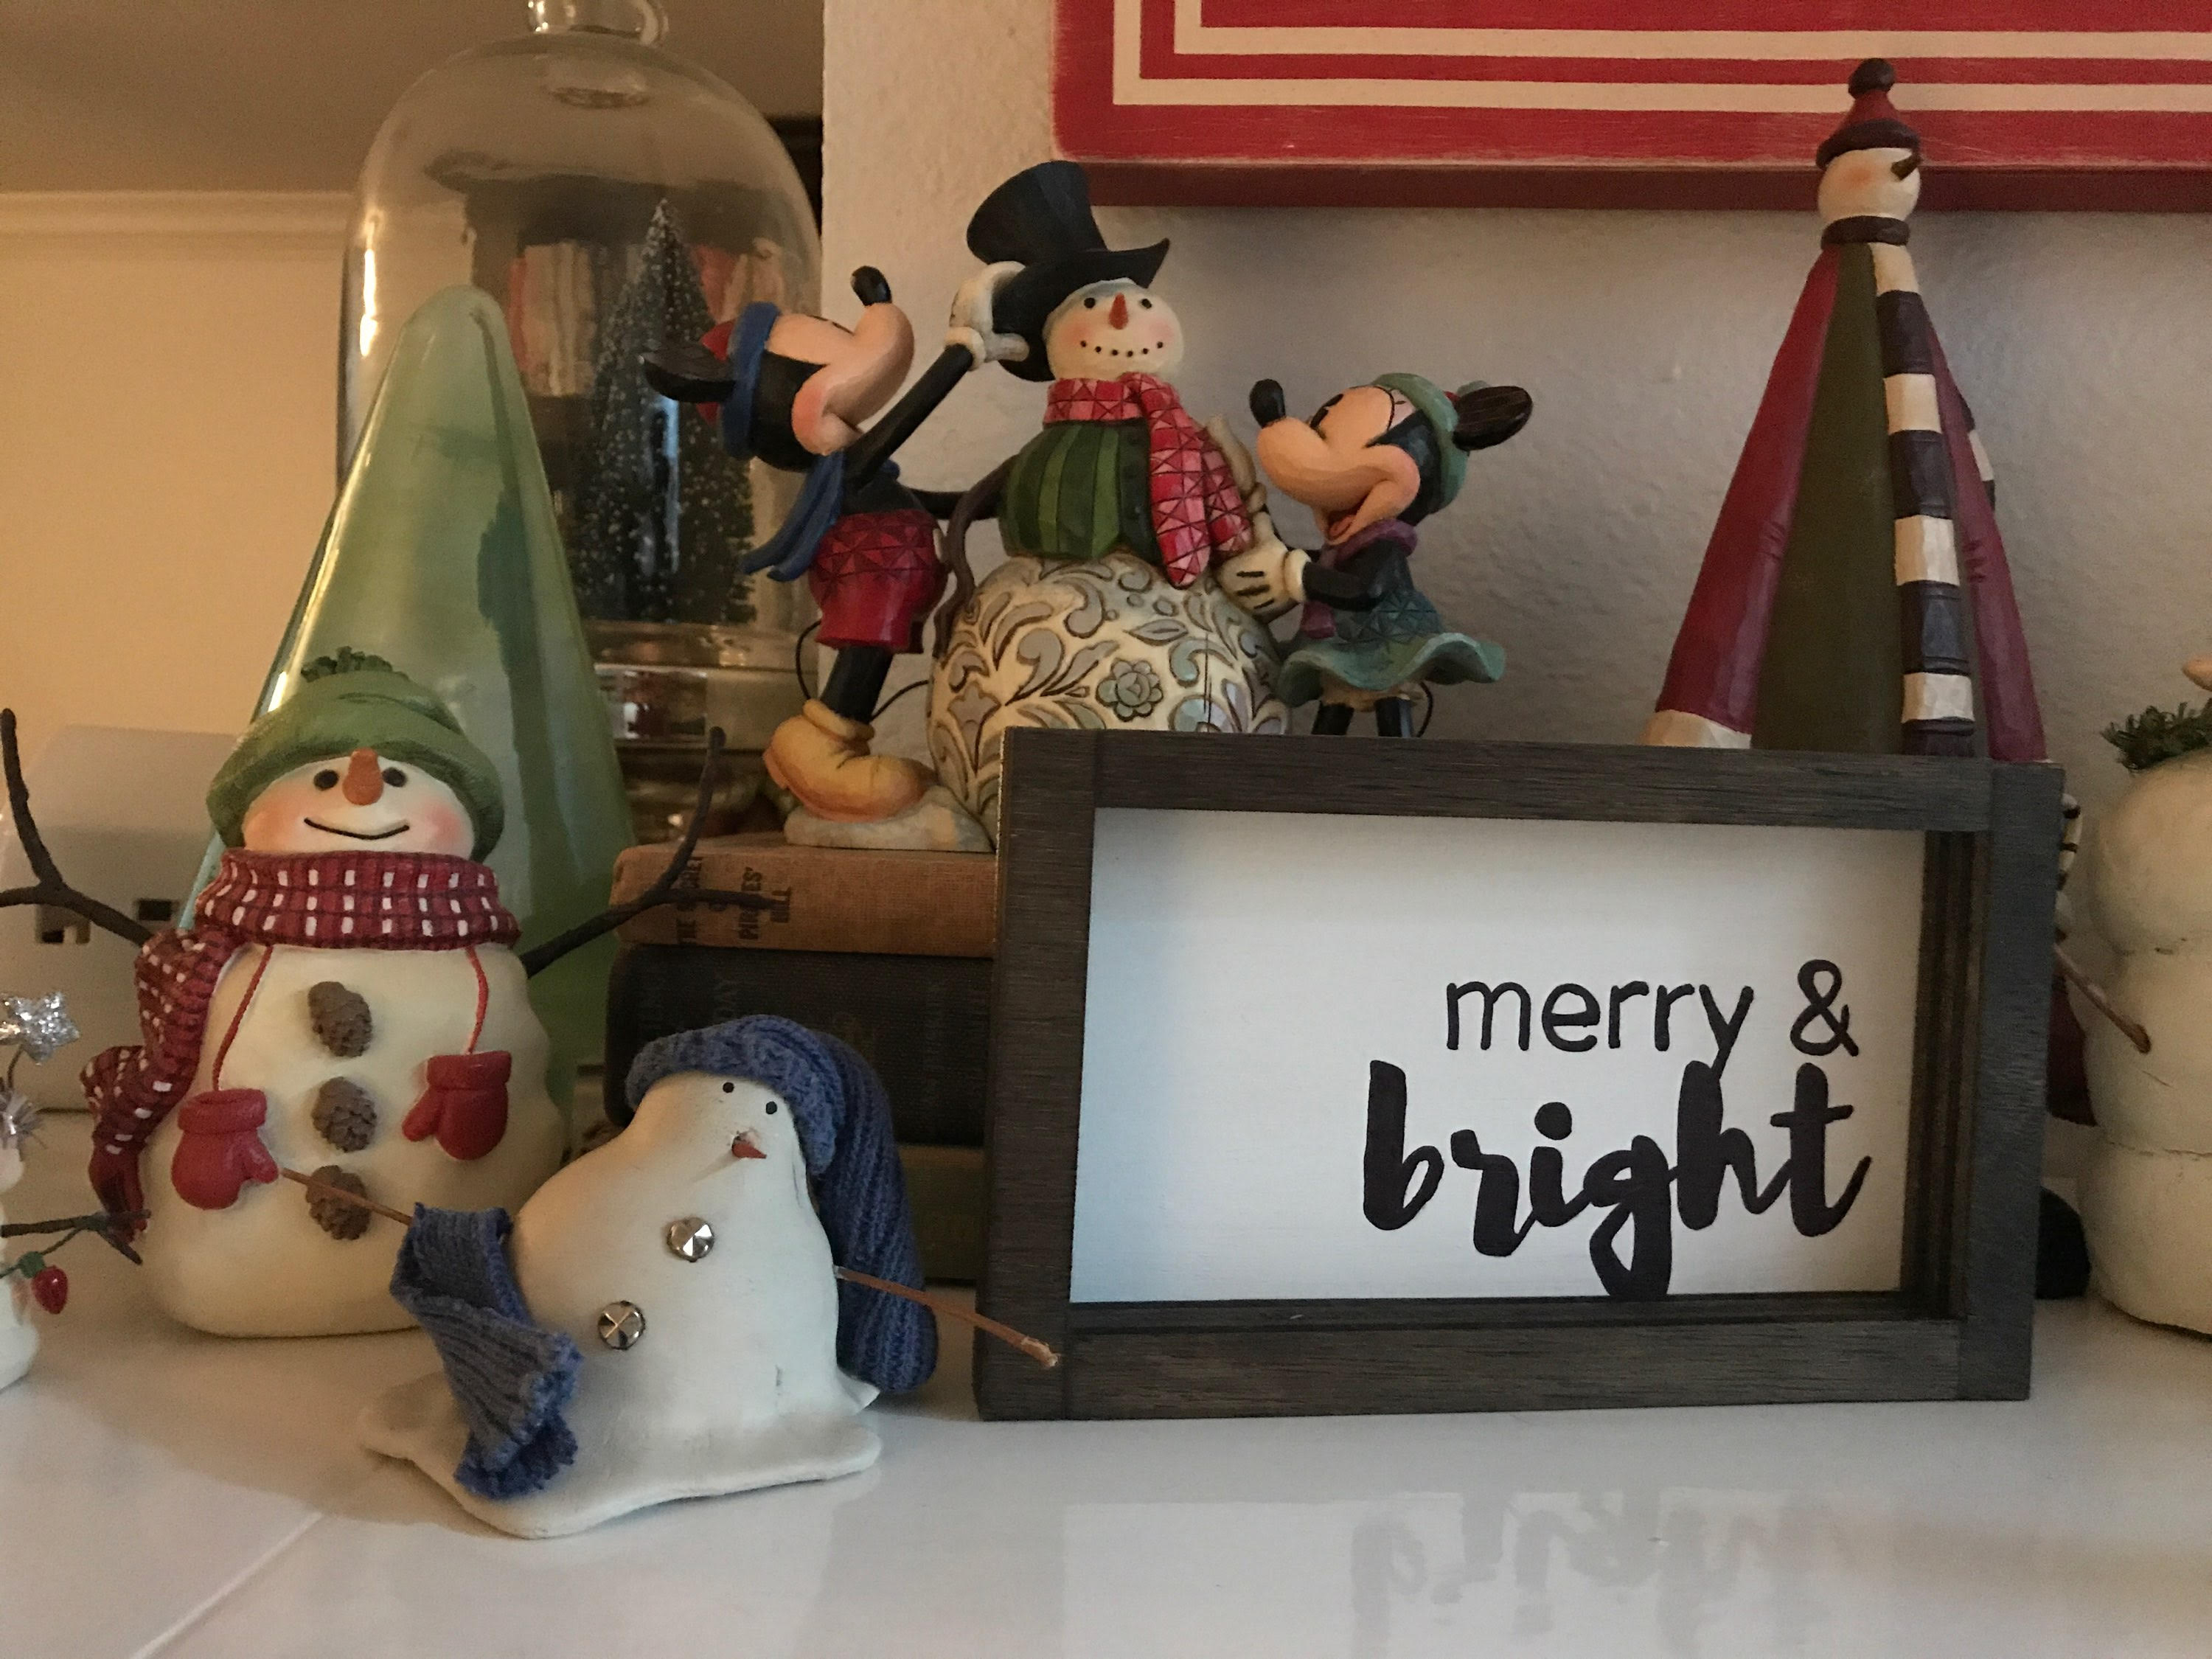
Several months ago, I made a sign that said: “i love us”.  I absolutely love the sign and have it on display in my entranceway.  With Christmas approaching, I knew I wanted to use a similar technique to make a Christmas-inspired sign.  I love this DIY technique because you do not have to own a die cutting machine.  It was so easy to make this sign!  I am definitely going to make even more!

DIY Wood Sign

Materials:

  • 1/2″ thick plywood panel cut at 5″ x 7″
  • 1×2″ 
  • 1 1/4″ brad nails or finish nails
  • Paint and primer for the sign background
  • Paint Marker
  • Paintbrush
  • Wood Stain (I used Minwax Jacobean)

Tools:

  • Miter Saw 
  • Brad Nailer or Hammer

1. First, using a miter saw, cut the 1×2’s to create the frame. I cut the two sides and then the top and bottom pieces to fit.

2. Stain all sides (except the back), of your 1×2 frame pieces. I use the old t-shirt method for applying the stain.  It’s really easy, just wipe the stain on using a small part of an old t-shirt and then wipe off the excess.

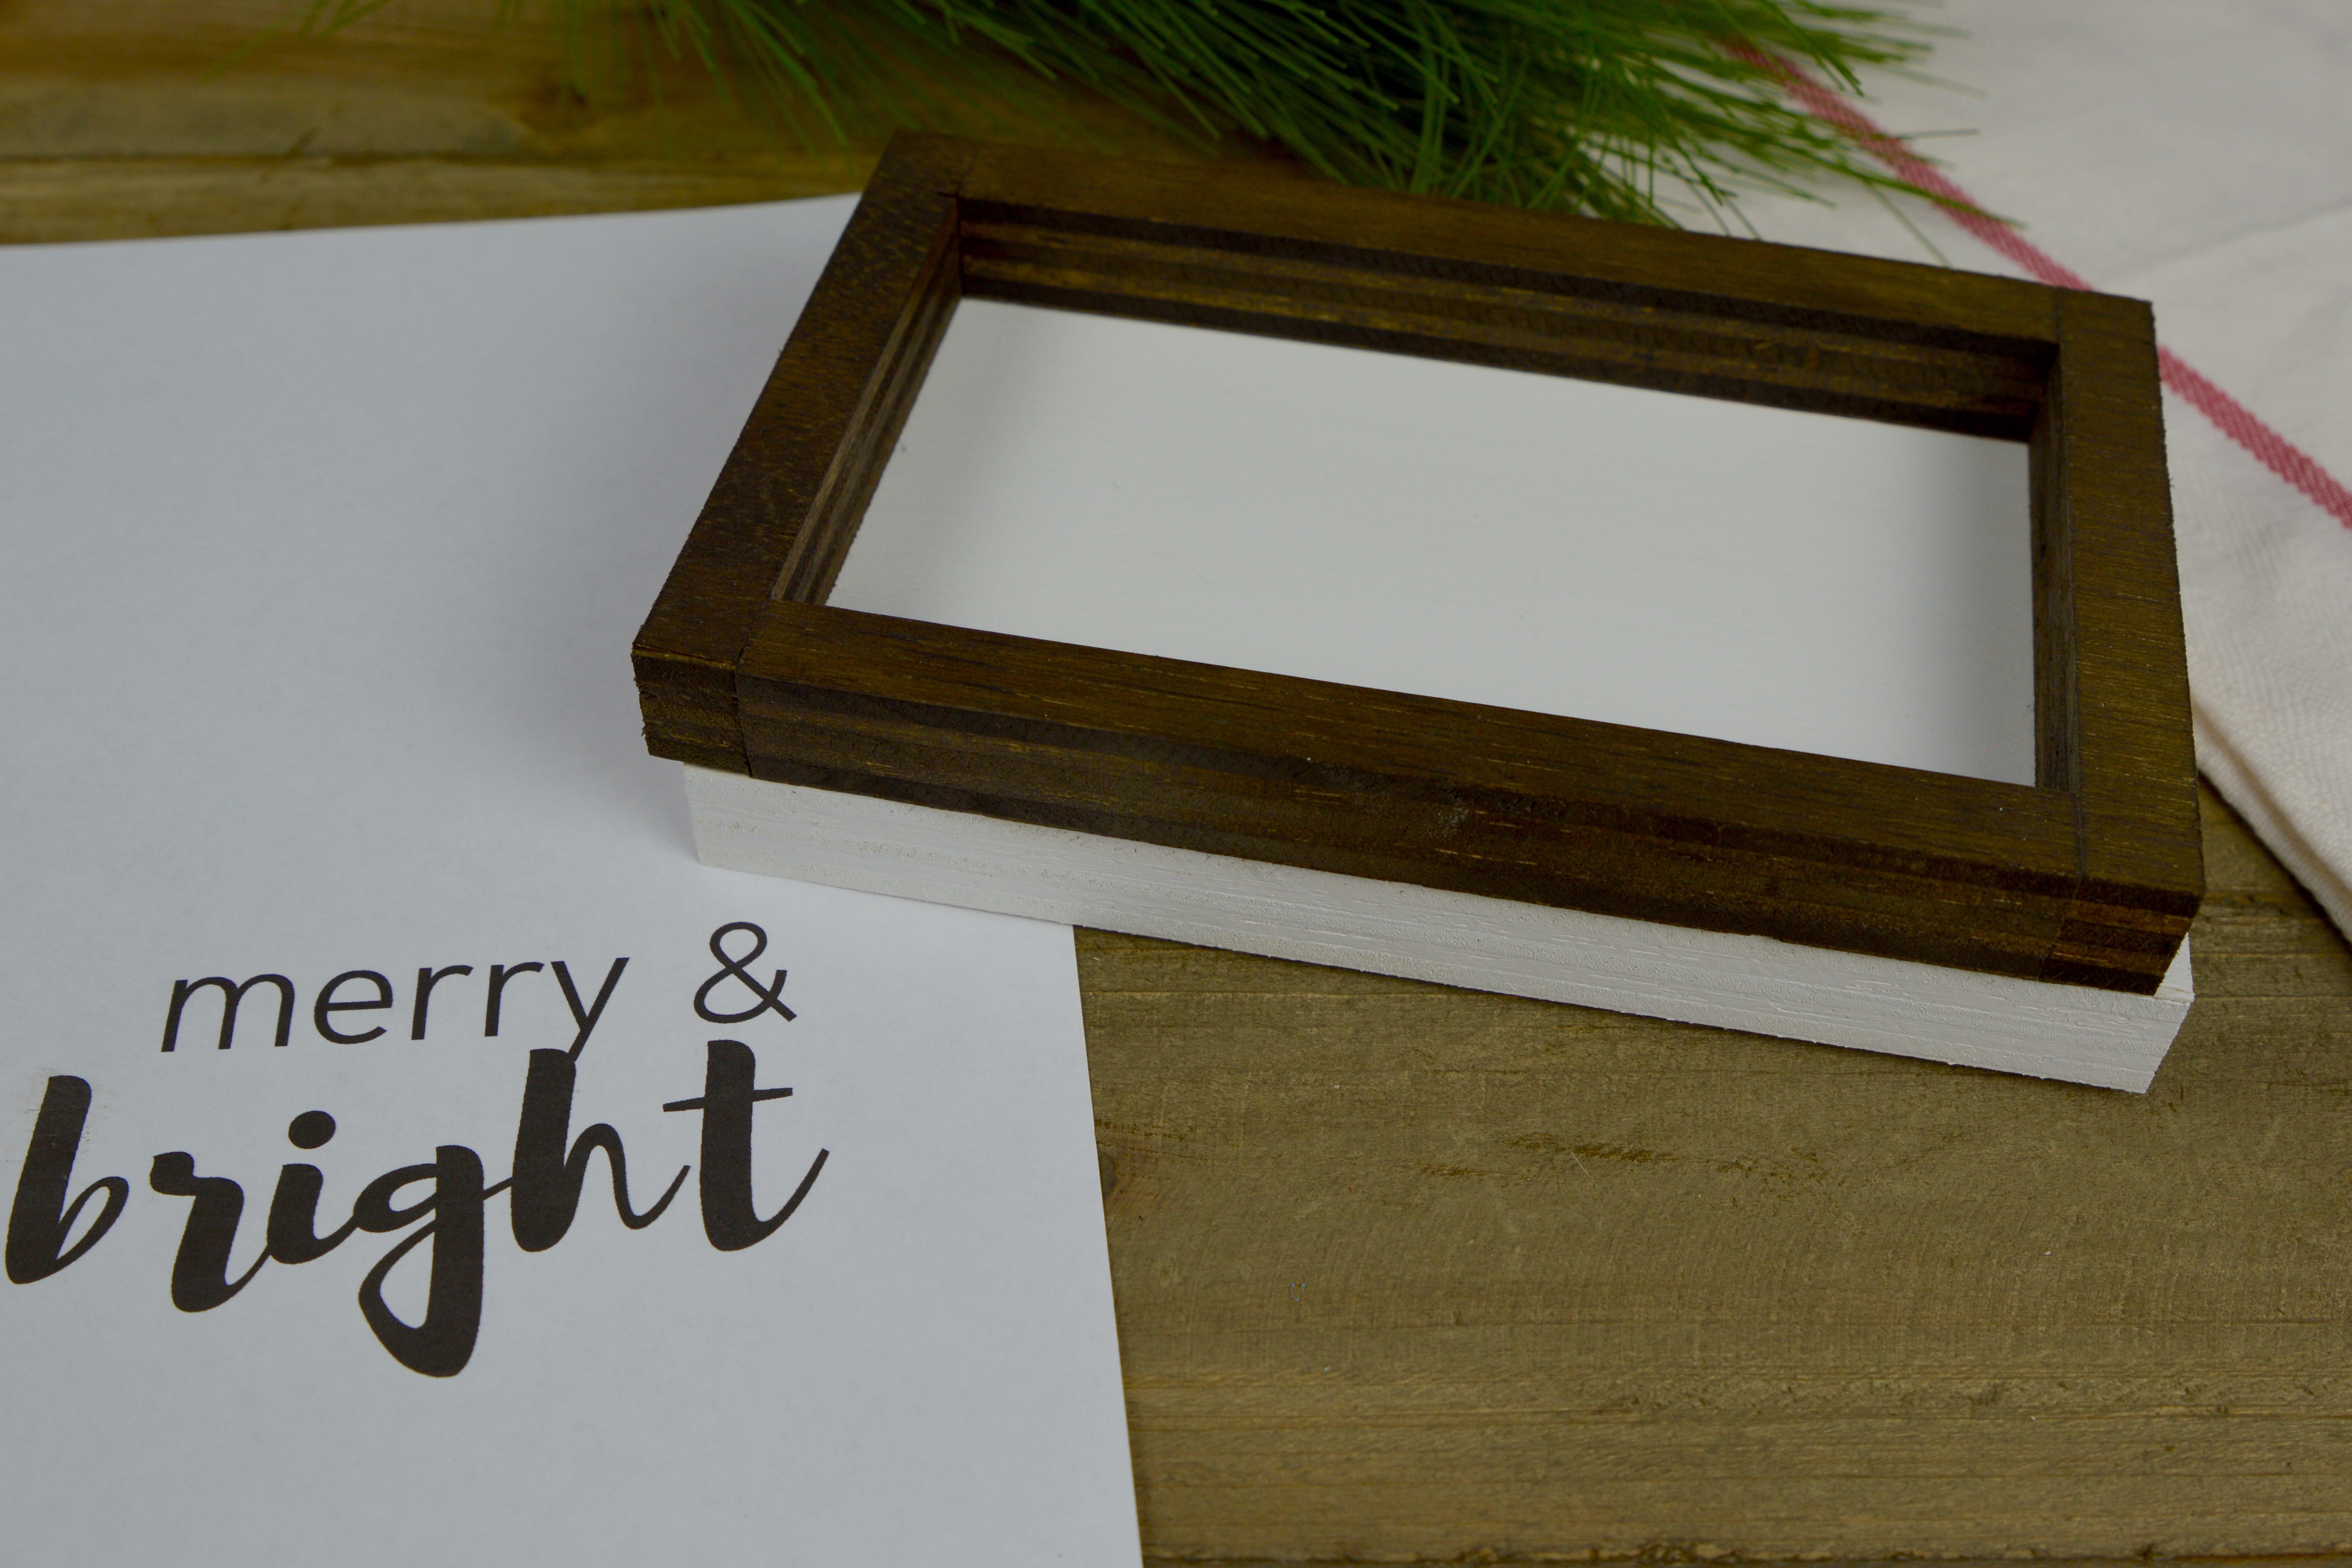
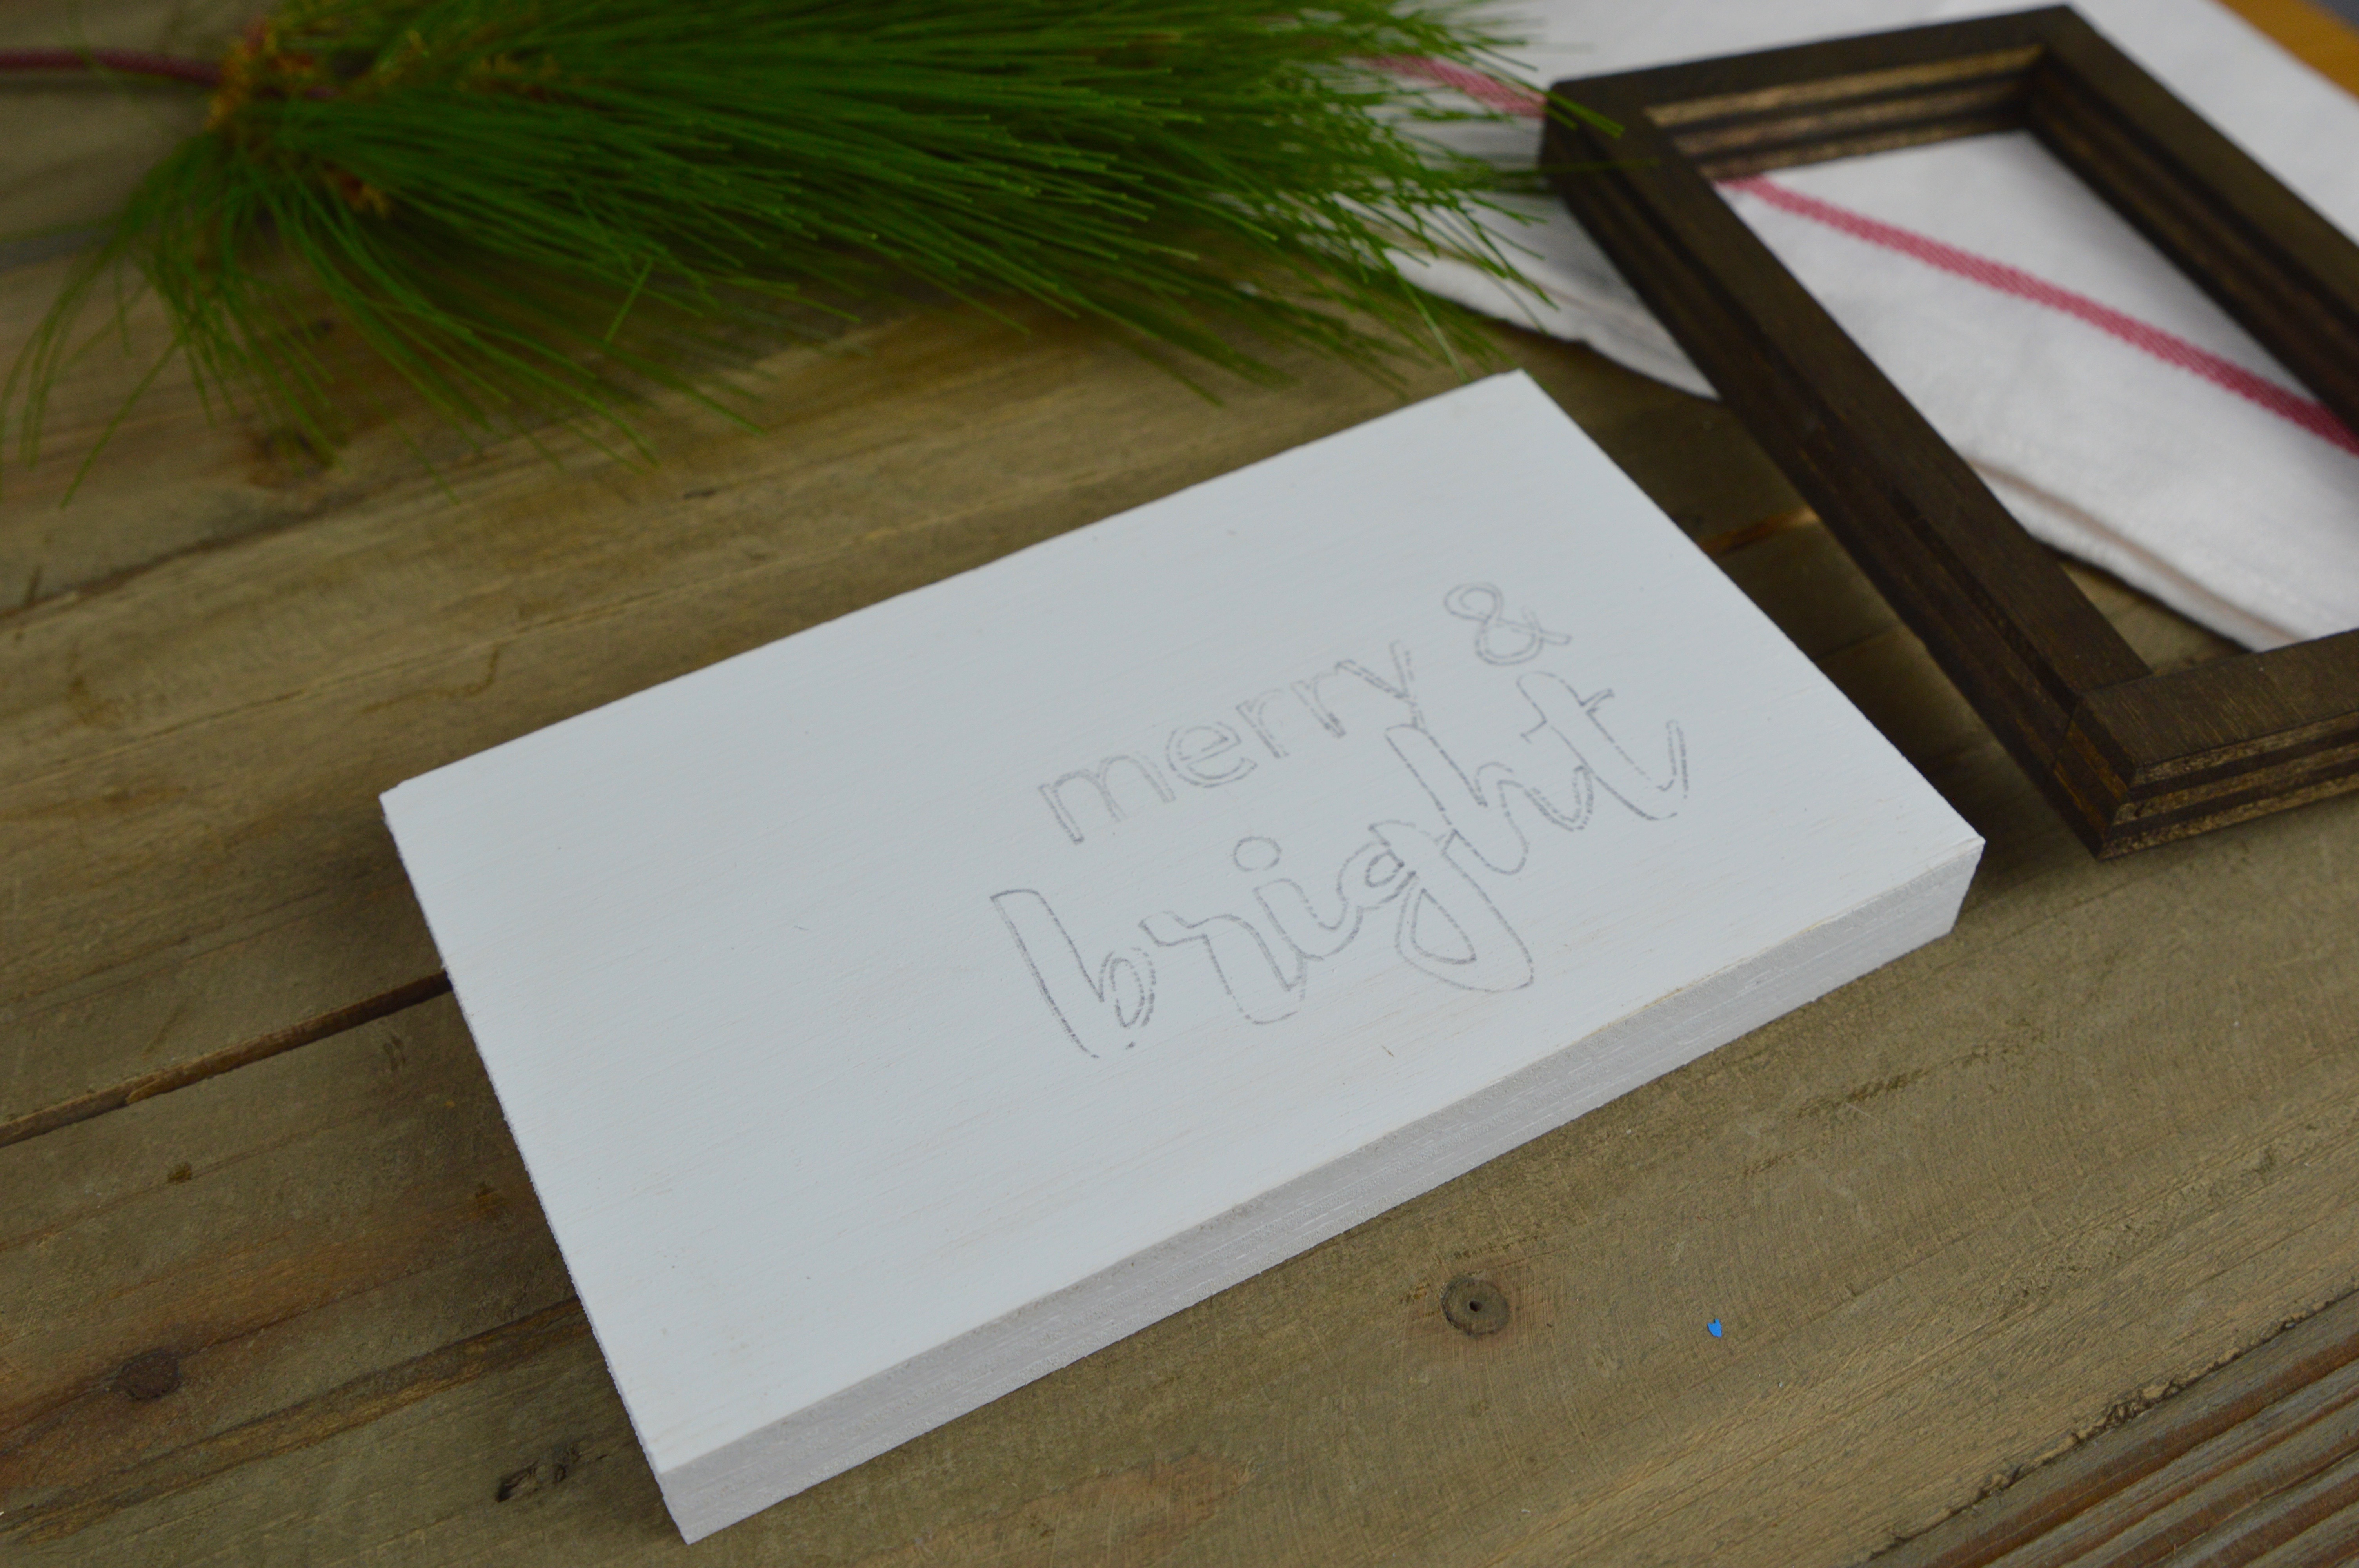
3. Next, use a paintbrush to prime and paint the front side of your plywood piece.

Making a DIY wood sign is easier to than you might think! Here’s a great tutorial for how you can make your own wood Christmas sign for your home.

4. Print out the quote or phrase that you would like on your wood sign. 

5. Next, in order to transfer the letters to your sign, color (on the reverse side of the paper) the words of your phrase using a pencil.  Then, flip your phrase back over and secure it into place on top of your sign using washi tape or painters tape.  I placed my frame pieces into place on top of my sign to help me place the phrase, but then I set them aside to make it easier to paint the phrase on.

Making a DIY wood sign is easier to than you might think! Here’s a great tutorial for how you can make your own wood fall sign for your home.

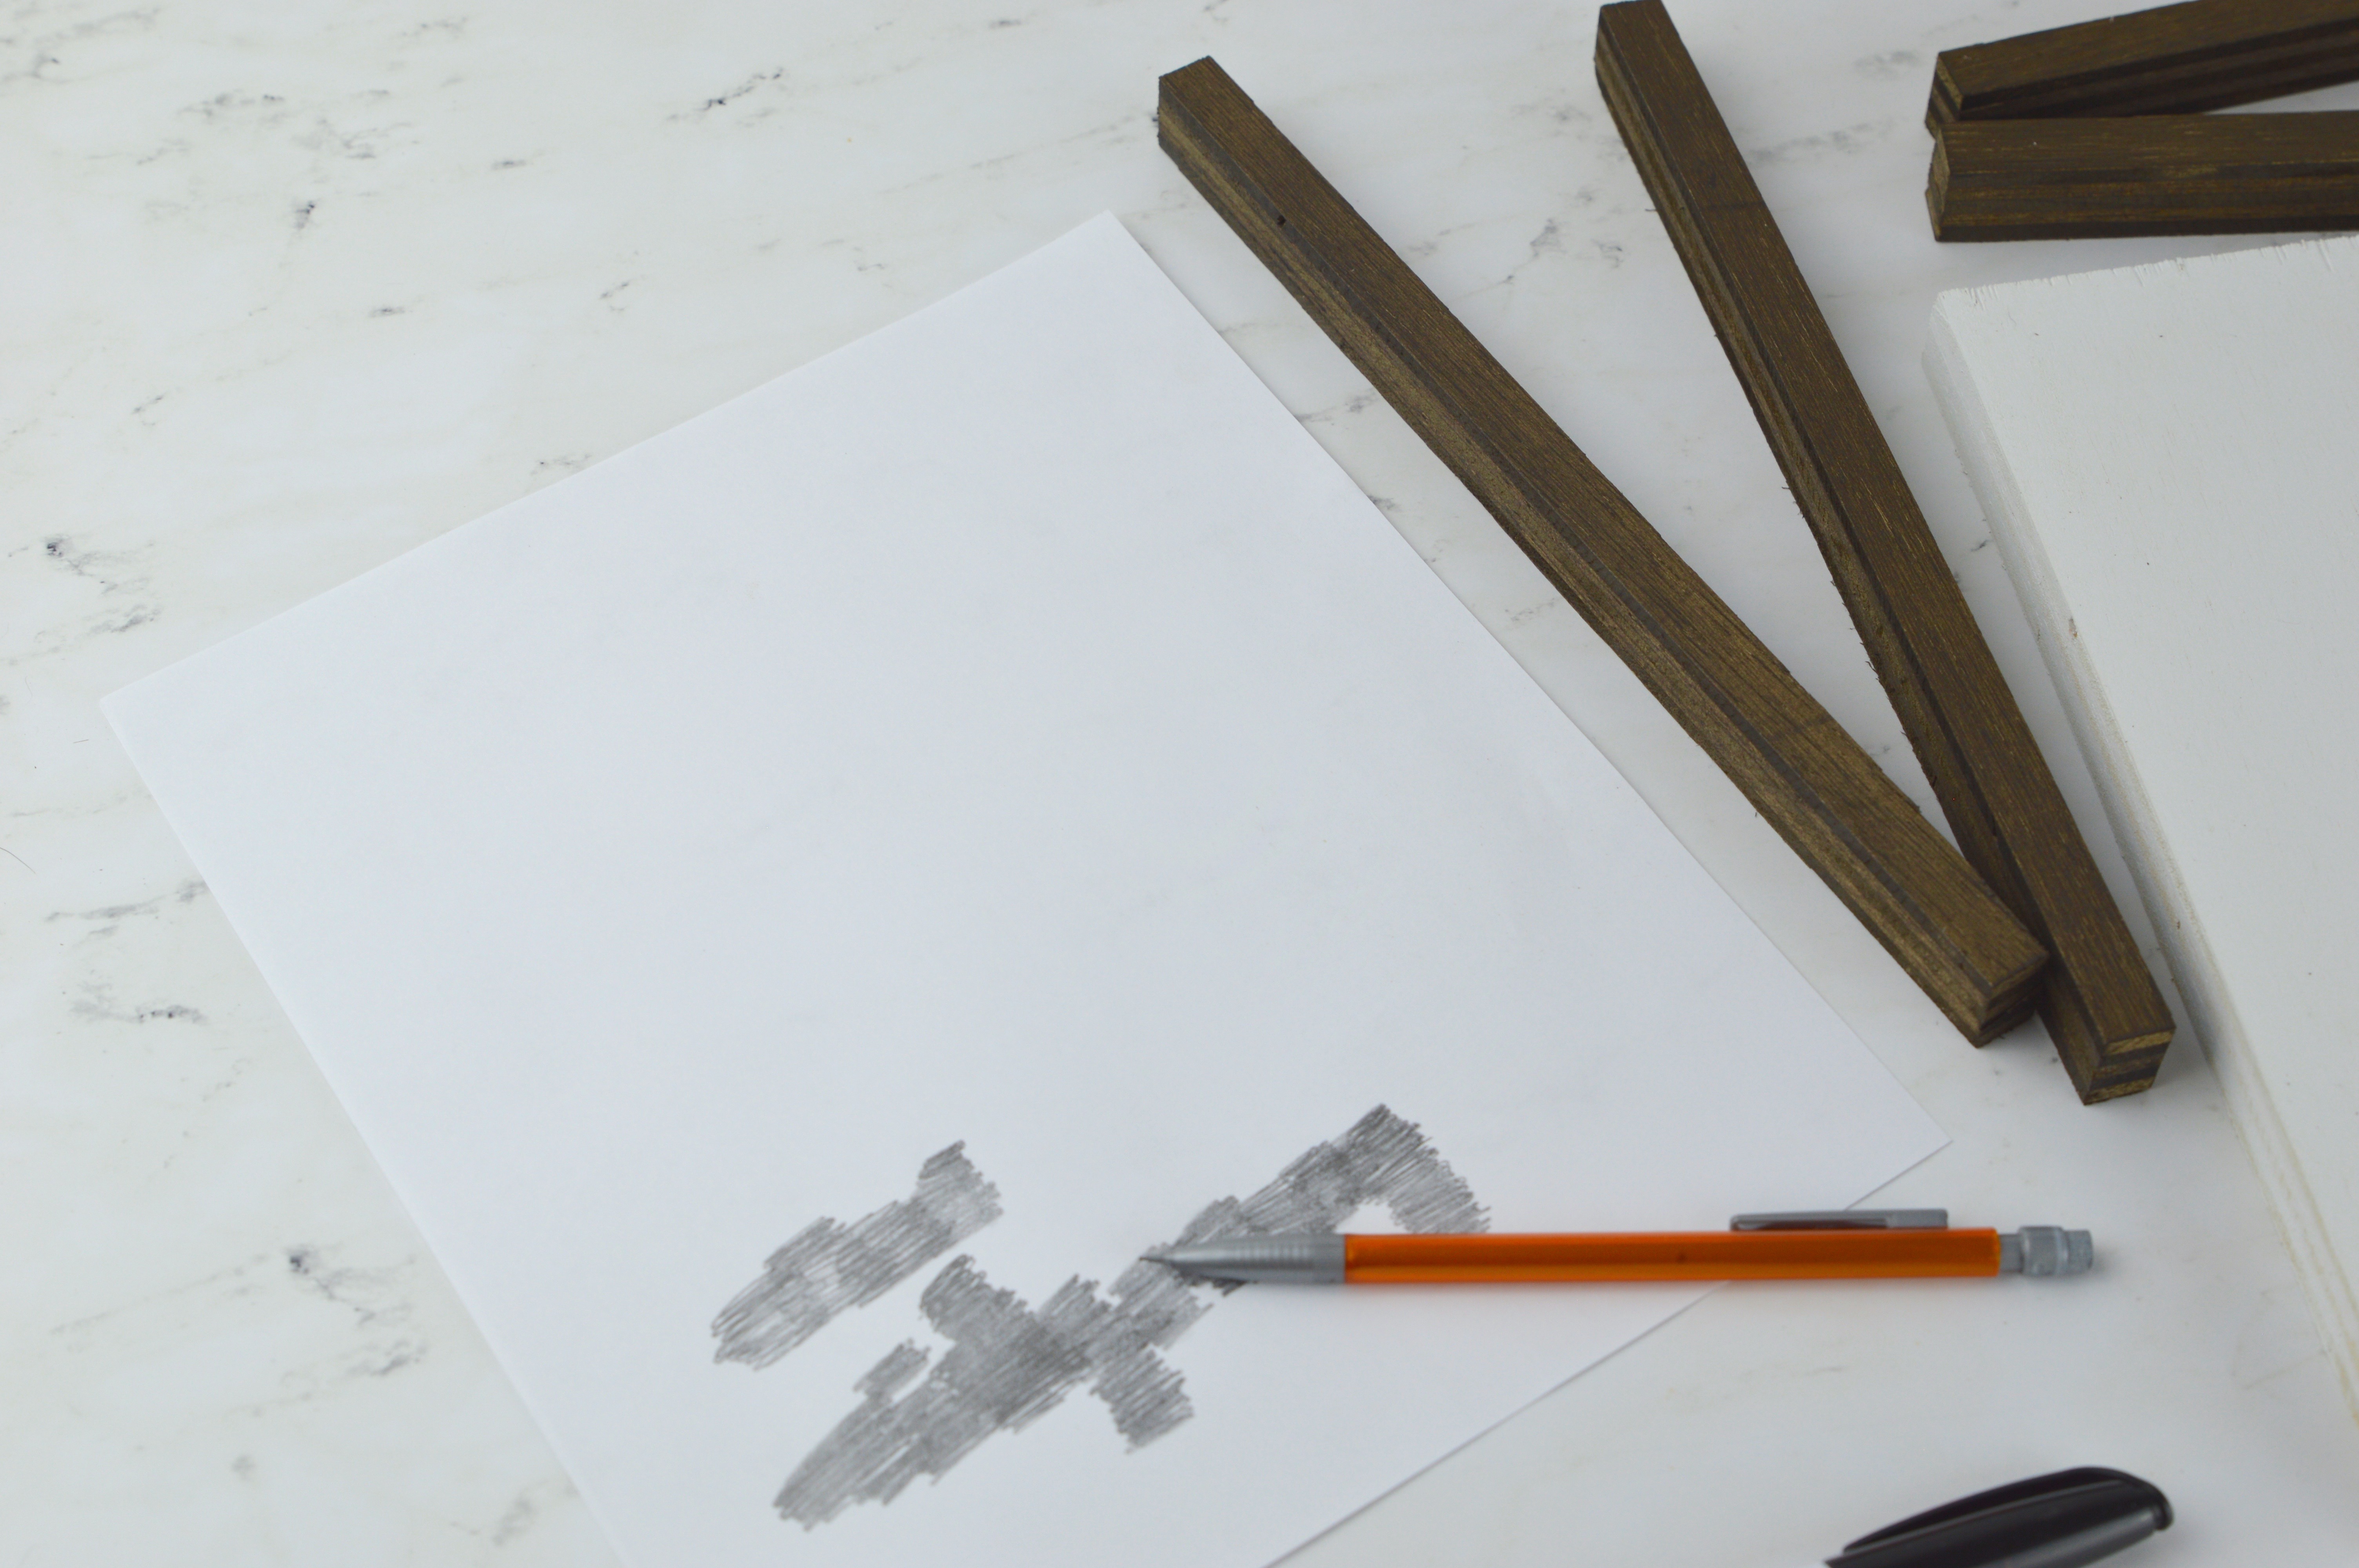
6. Next, start tracing over the phrase with your pencil, pressing down the pencil as you trace.  Remove your paper and your phrase has been transferred onto your wood!

Making a DIY wood sign is easier to than you might think! Here’s a great tutorial for how you can make your own wood Christmas sign for your home.

7. Complete your phrase by tracing over the pencil outline with a paint marker.  I used a black Sharpie medium and fine point marker.

Making a DIY wood sign is easier to than you might think! Here’s a great tutorial for how you can make your own wood Christmas sign for your home.

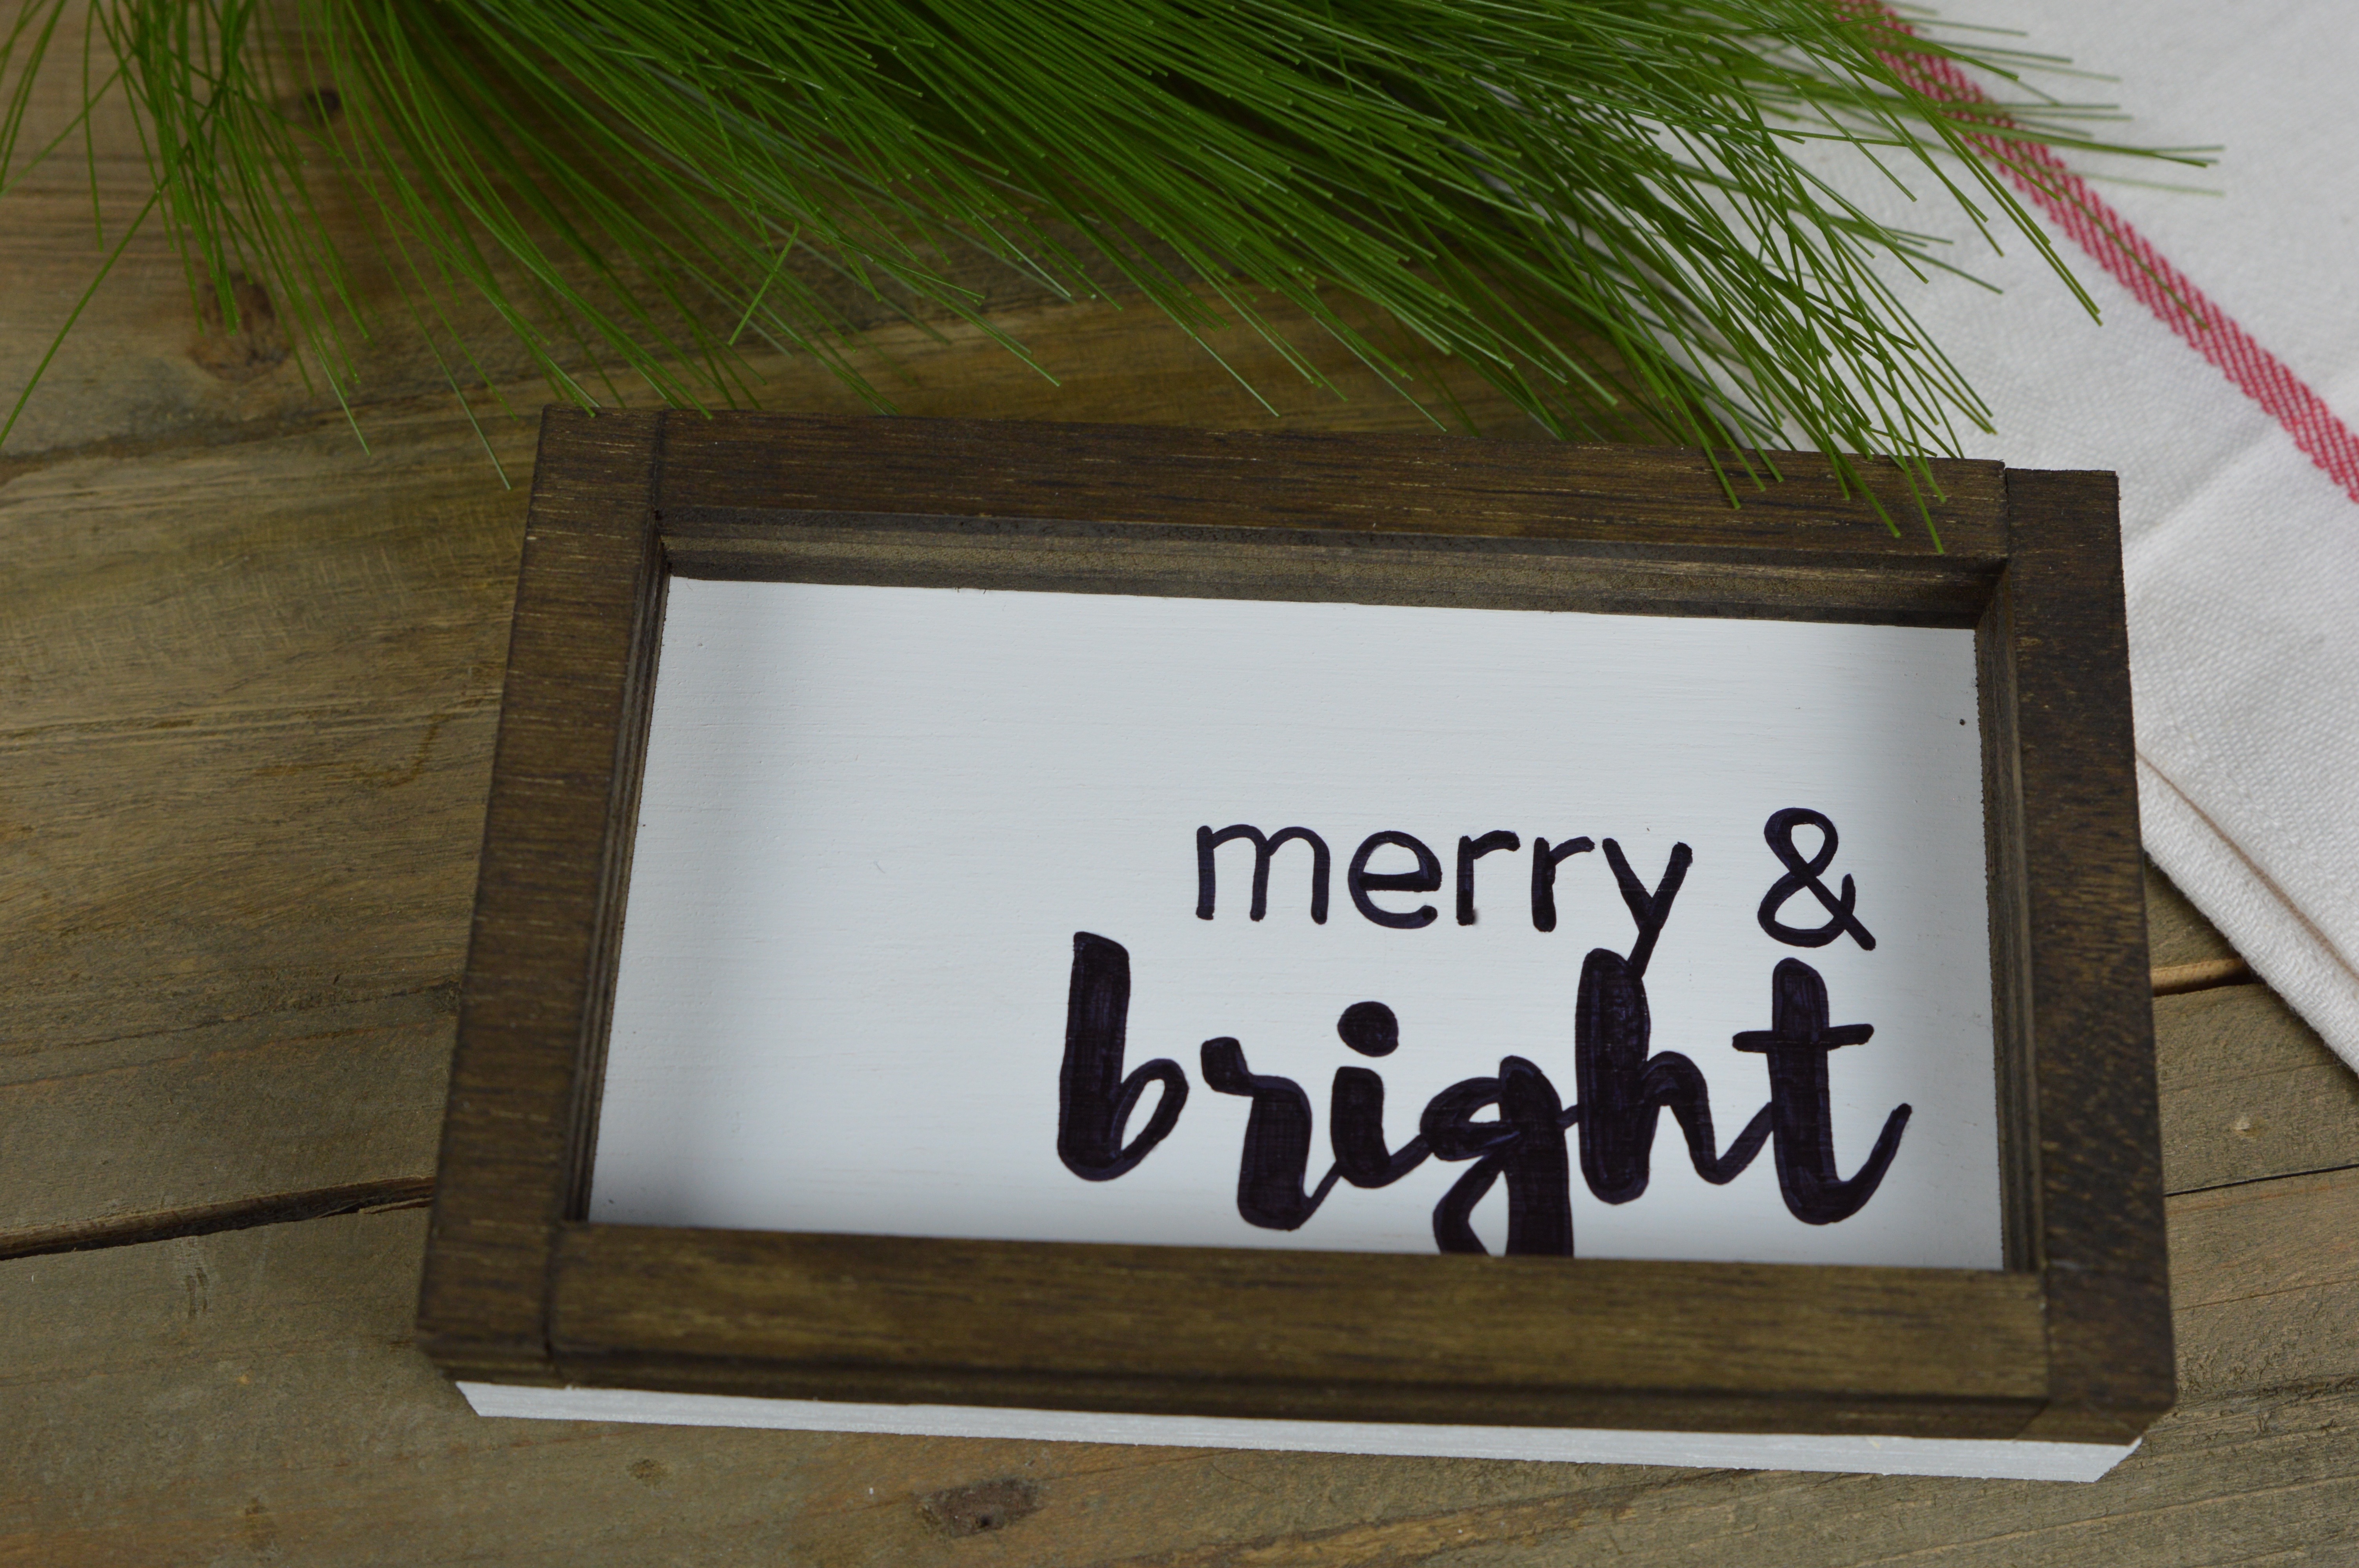
8. To attach the frame to the sign, line up one piece of the frame at a time starting with one of the side pieces.  Lining up the edge attach from the back of the plywood through the frame piece using a brad nailer.  Repeat for all the remaining pieces.

9. Enjoy your completed wood sign!  

Let me know if you make this sign or what phrase you would like on a sign in the comments.

Making a DIY wood sign is easier to than you might think! Here’s a great tutorial for how you can make your own wood Christmas sign for your home.

Related posts:

These Rae Dunn inspired Christmas ornaments are a wonderful gift to give or to make for yourself.DIY Rae Dunn Inspired Christmas Ornaments Making a DIY wood sign is easier to than you might think! Here’s a great tutorial for how you can make your own wood fall sign for your home.DIY Wood Fall Sign How to Make Cinnamon Applesauce Ornaments #DIY #Christmas | mybigfathappylife.comHow to Make Cinnamon Applesauce Ornaments This Halloween serve your family mini donuts on DIY Broomstick Skewers.  They will delight in this fun and magical breakfast treat.DIY Witch’s Broomstick Skewers

HELLO

About me

Welcome to my blog! My name is Paris. I love to travel, take photos, drink coffee, scrapbook and make desserts.

My Big Fat Happy Life is a participant in the Amazon Services LLC Associates Program, an affiliate advertising program designed to provide a means for sites to earn advertising fees by advertising and linking to amazon.com
Visit My Big Fat Happy Life's profile on Pinterest.

Member of:

SoFab Badge USFamilyGuide.com
SiteLock
Ebates Coupons and Cash Back Follow on Bloglovin
Paris Anderson's influencer profile
dealspotr.com

Copyright © 2025 · Modern Blogger Pro Theme By, Pretty Darn Cute Design