My Big Fat Happy Life

celebrating our everyday life

  • Home
  • Kids Activity
    • Arts and Crafts
    • Early Learning
    • Imaginative Play
    • Sensory
    • Small World
  • Travel
    • Disney Cruise
    • Disneyland Resort
    • Disney World
    • US Travel
      • Alabama
      • Alaska
      • Arizona
      • Colorado
      • Florida
      • Hawaii
      • Louisiana
        • New Orleans with Kids
      • Minnesota
      • Mississippi
      • Montana
      • New Mexico
      • Oklahoma
      • Pennsylvania
      • Texas
      • Utah
      • Wisconsin
      • Wyoming
    • Caribbean
    • Europe
      • Denmark
      • England
      • France
      • Iceland
      • Ireland
      • Portugal
      • Russia
      • Spain
      • Sweden
    • Norwegian Cruise Line
    • Universal Orlando
    • Camping
  • DIY
    • Decor
    • Holidays
    • Paper Crafts
      • Project Life
      • Layouts
      • Cards
    • Parties
    • Saving Money
  • Recipes
  • About Me
  • Disclosure & Privacy Policy
  • Media/Advertising

The One Hour Pillow

November 10, 2016 By: mybigfathappylife

Change the look of your space by recovering your pillow using this One Hour Pillow instructions. The One Hour Pillow - mybigfathappylife.com

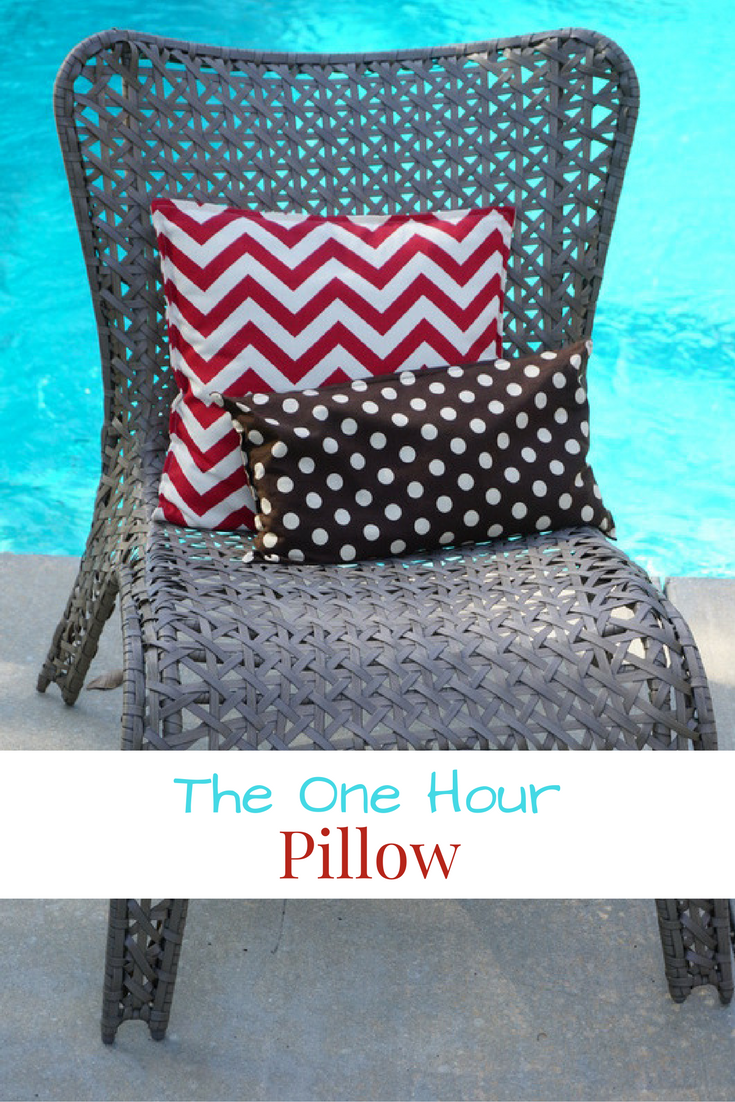
Special guest post today from my mom, Karen!

I think it will take longer to read the directions than to actually make the pillow.  But if you can sew a straight seam you should be able to sew this quick and easy pillow.  I usually put cording around the edges of throw pillows but with this “one hour pillow” there’s no need to make cording, instead it has a small flange like edge, therefore making it very quick and easy.

Change the look of your space by recovering your pillow using this One Hour Pillow instructions. The One Hour Pillow - mybigfathappylife.com

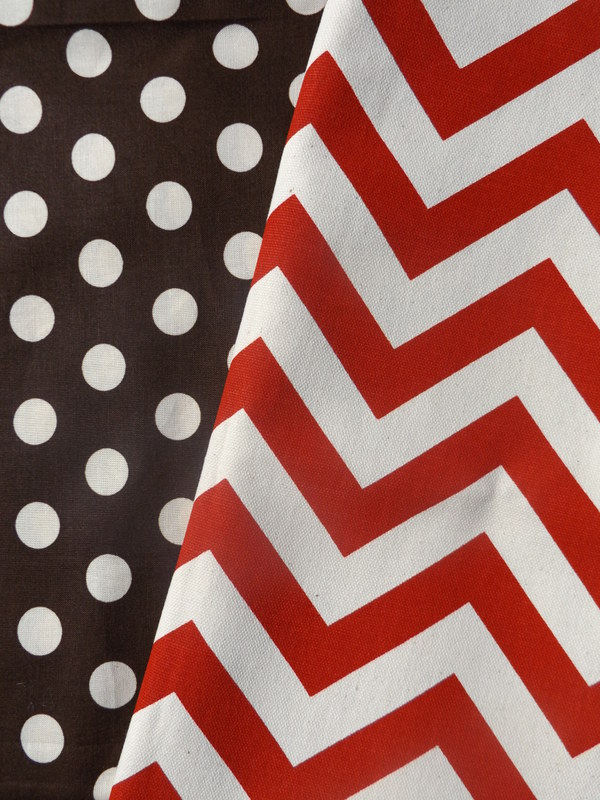
First you need an old pillow or a pillow insert and fabric of your choosing. The size of your pillow will determine how much fabric you need. A yard or less is usually sufficient. I have two thoughts on pre-washing fabric…if you are ever going to wash your finished project, you should wash and dry the fabric on the highest setting before you begin and hopefully it will shrink all it’s going to before you cut out your project. If you’re never going to wash it then there’s no need to pre-wash. But I do recommend you iron all creases, folds and wrinkles before you start.

Change the look of your space by recovering your pillow using this One Hour Pillow instructions. The One Hour Pillow - mybigfathappylife.com

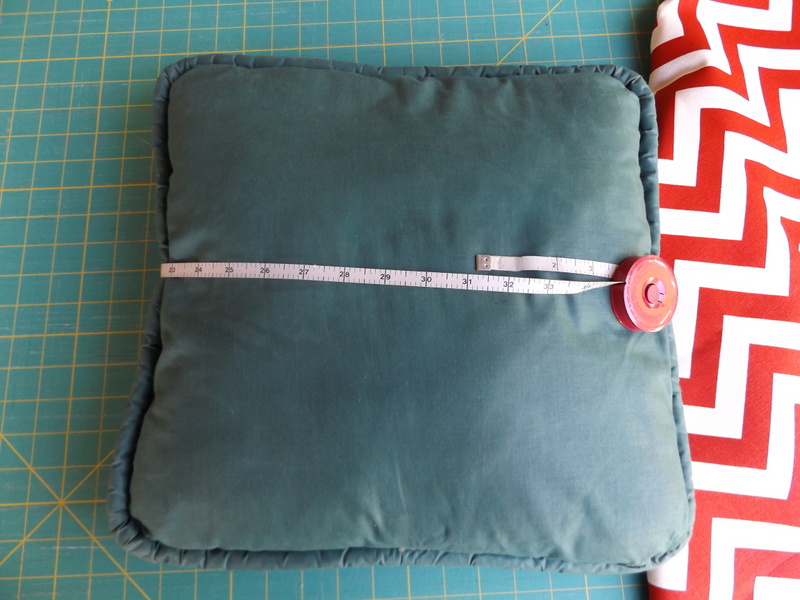
This may sound complicated but it’s not…Measure all the way around the pillow in both directions.  To one measurement and add 3″ this is your length…Take the other measurement and divided by 2 and add 3 inches this is your width.  Note: the long side will go from top to bottom, so lay your fabric accordingly if it has a direction.

Change the look of your space by recovering your pillow using this One Hour Pillow instructions. The One Hour Pillow - mybigfathappylife.com

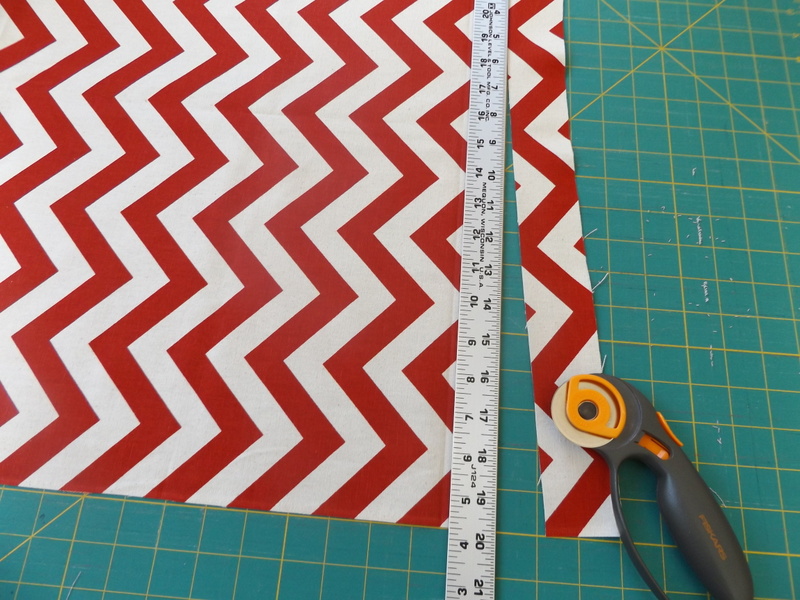
Using a mat and rotary cutter or scissors cut your fabric to the measurements you’ve determined.

Change the look of your space by recovering your pillow using this One Hour Pillow instructions. The One Hour Pillow - mybigfathappylife.com

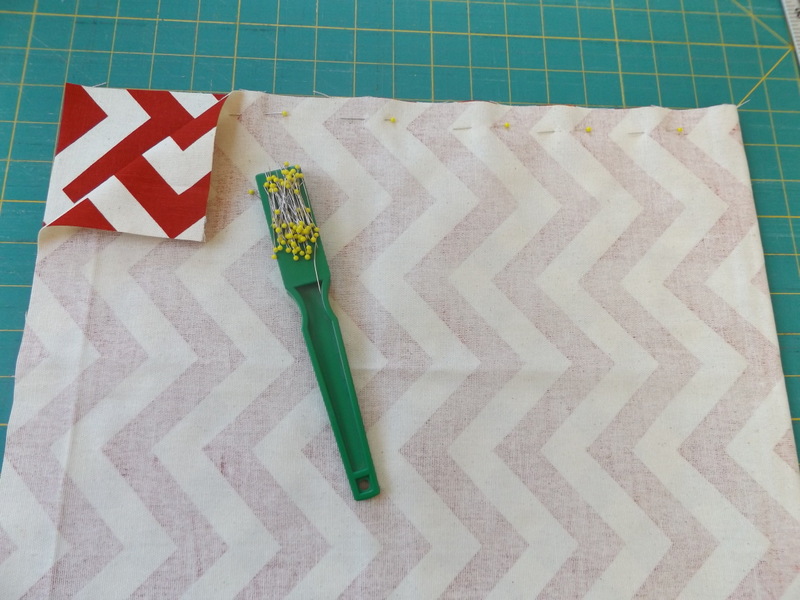
Put right sides together folding in half. Pin and stitch 5/8″ seam on each side, leaving open the end opposite the fold.

Change the look of your space by recovering your pillow using this One Hour Pillow instructions. The One Hour Pillow - mybigfathappylife.com

Turn inside out so right sides are to the outside.  Press, making sure edges are straight. I first press the seam I just sewed flat.

Change the look of your space by recovering your pillow using this One Hour Pillow instructions. The One Hour Pillow - mybigfathappylife.com Change the look of your space by recovering your pillow using this One Hour Pillow instructions. The One Hour Pillow - mybigfathappylife.com

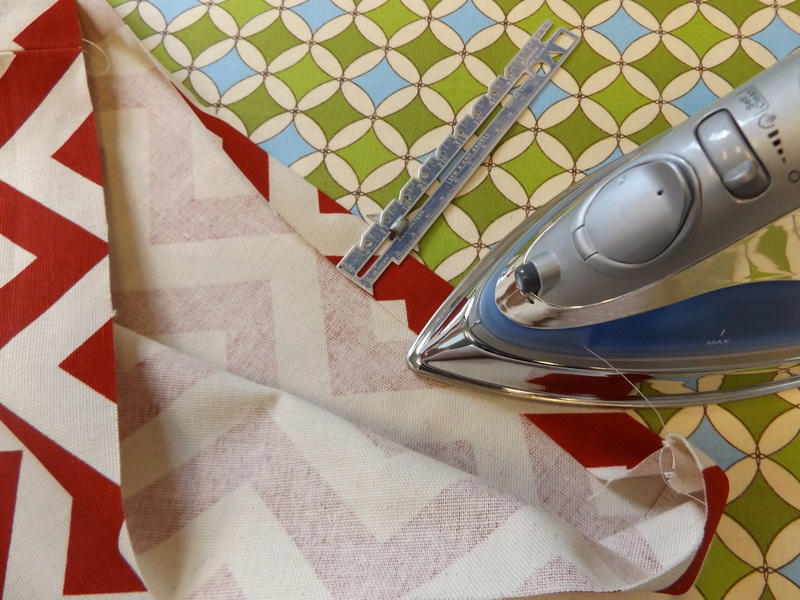
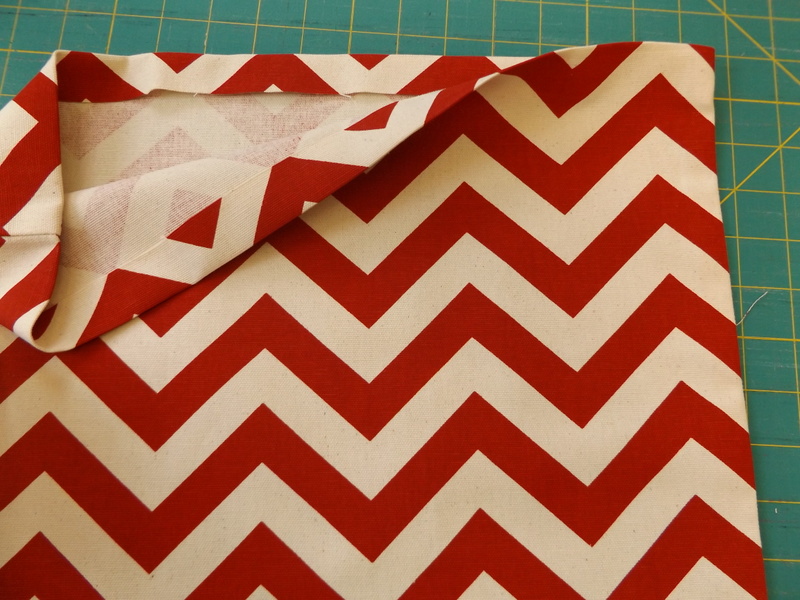
Turn the fabric of the opening edge to the inside (approximately one inch) and iron.

Change the look of your space by recovering your pillow using this One Hour Pillow instructions. The One Hour Pillow - mybigfathappylife.com
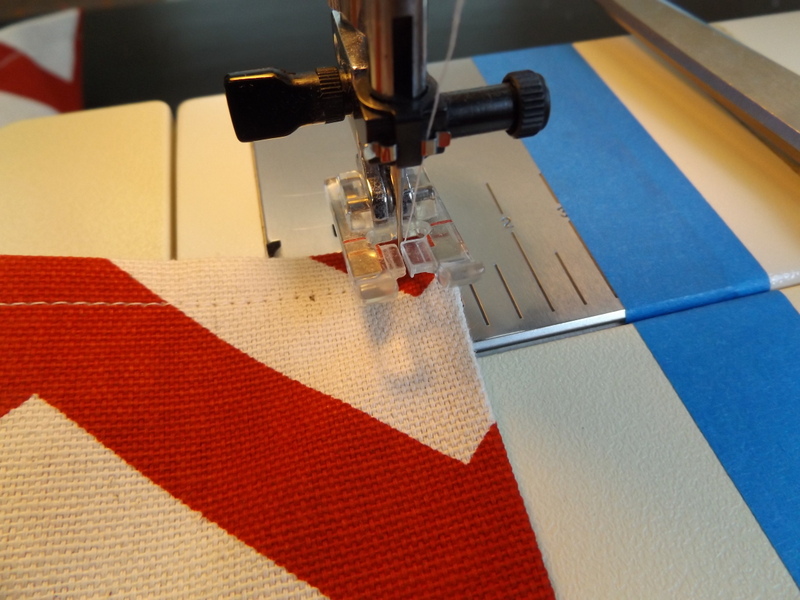
Topstitch 1/4 inch from the edge…for me that’s the width between the edge of the foot and the needle. When you get to the and of the fabric back up a few stitches (keeping your needle in down position) and raise your pressure foot and turn your fabric to start your topstitching down the next side.  Stitch 3 sides.

Change the look of your space by recovering your pillow using this One Hour Pillow instructions. The One Hour Pillow - mybigfathappylife.com

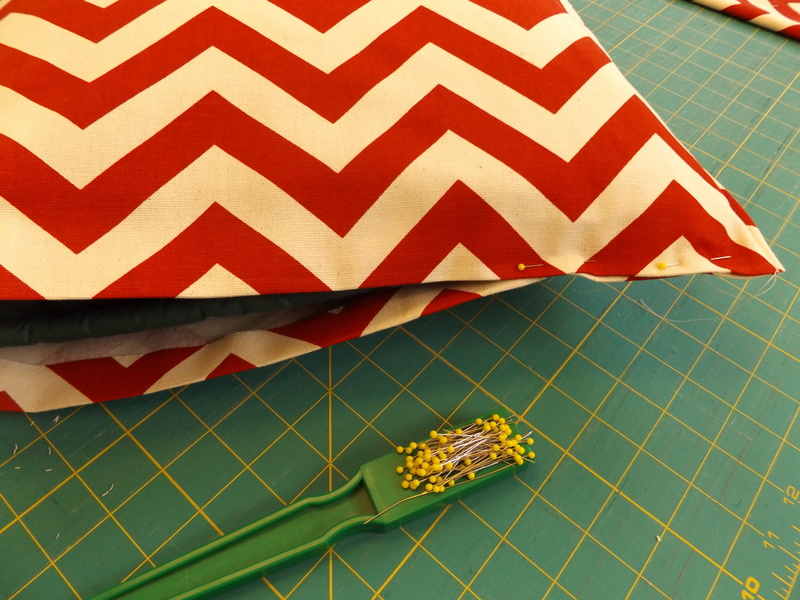
Stuff the pillow in the open end and pin the fourth side.

Change the look of your space by recovering your pillow using this One Hour Pillow instructions. The One Hour Pillow - mybigfathappylife.com

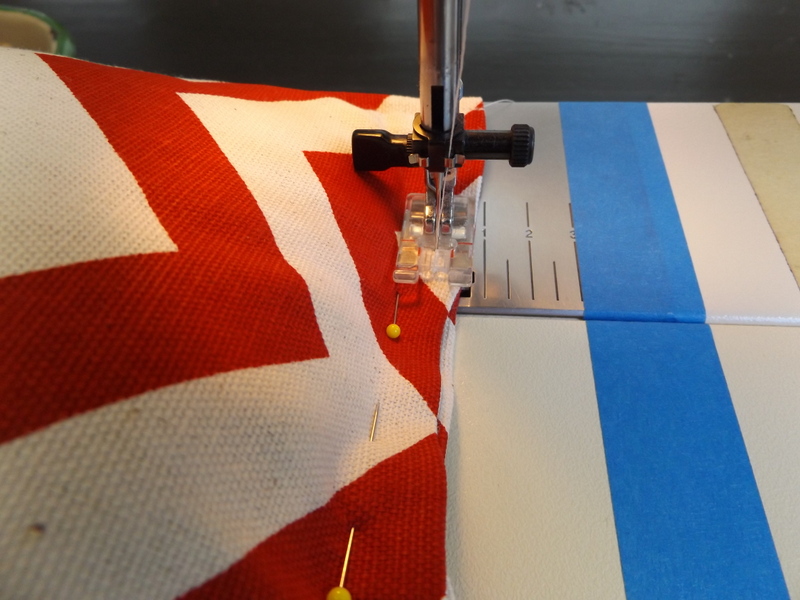
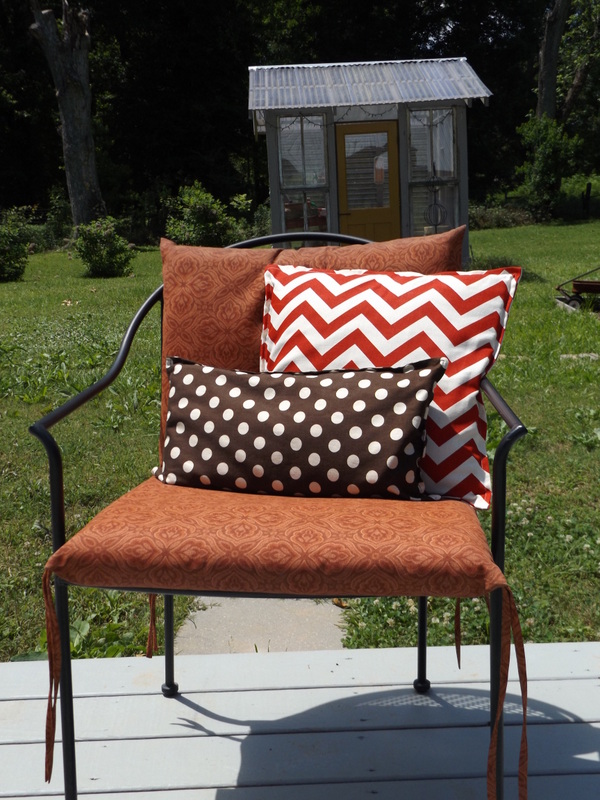
Topstitch a quarter-inch from edge and you are ready to decorate your favorite chair with your new pillow!

Change the look of your space by recovering your pillow using this One Hour Pillow instructions. The One Hour Pillow - mybigfathappylife.com

Related posts:

Tips for Decorating a Playroom with Fathead vinyl decals #ad | mybigfathappylife.comTips for Decorating the Playroom Organizing Your Child’s Closet to Foster Self-SufficiencyOrganizing Your Child’s Closet to Foster Self-Sufficiency How to Make a Thankful Sign from a Pallet | mybigfathappylife.comHow to Make a Thankful Sign from a Pallet An update on my Photo Travel Map that includes each US state cut out of a photo or scrapbook paper and attached to a canvas.Photo Travel Map Update

HELLO

About me

Welcome to my blog! My name is Paris. I love to travel, take photos, drink coffee, scrapbook and make desserts.

My Big Fat Happy Life is a participant in the Amazon Services LLC Associates Program, an affiliate advertising program designed to provide a means for sites to earn advertising fees by advertising and linking to amazon.com
Visit My Big Fat Happy Life's profile on Pinterest.

Member of:

SoFab Badge USFamilyGuide.com
SiteLock
Ebates Coupons and Cash Back Follow on Bloglovin
Paris Anderson's influencer profile
dealspotr.com

Copyright © 2025 · Modern Blogger Pro Theme By, Pretty Darn Cute Design